1) In Open Dental go to Setup then Imaging

then select the black arrow to the right of Imaging to open a sub menu.
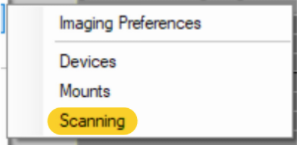
2) Then in the sub menu select Scanning. This will then open the Scanning setup window.
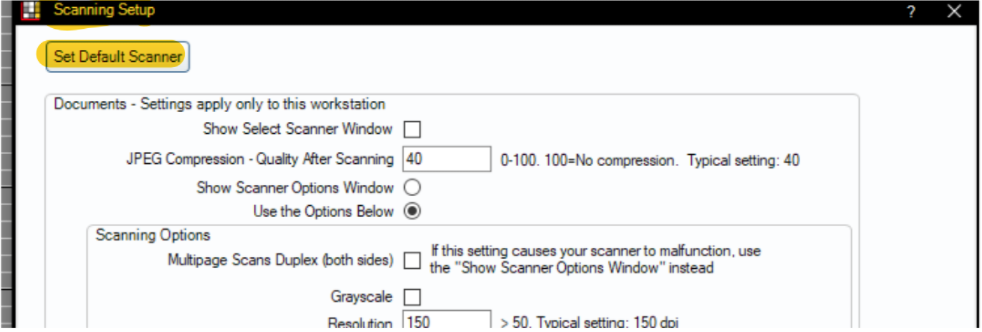
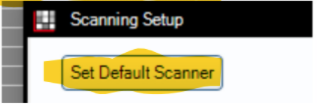
3) You will now click on the Set Default Scanner button at the upper top left.
4) This will open the Window with a list of scanners. Find your scanner in the list and highlight the scanner and then the Select button.
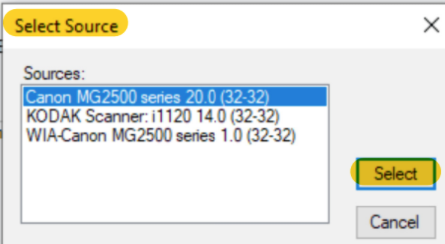
5) The Select Source window will now close. Then on the scanning Setup window click OK button to save the selected Default scanner.
6) Select a dummy patient such as Mickey Mouse to scan a test page.
7) Go to your selected Dummy patient's imaging module. You will see a default folder for scanned documents. Do not select a folder prior to scanning your documents as you will select the folder after you have scanned your document and at the time you are naming your document.
8) Begin scanning your document(s).
Once you have finished scanning your pages you will quickly see the Item Info page and then if that screen goes behind the documents window's screen.
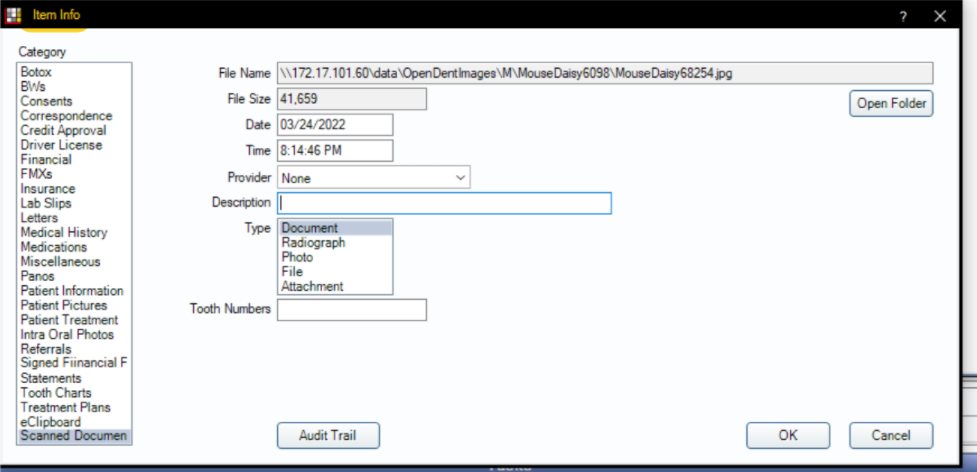
To pull the item Info page back into the front of the Window you will need to click on the Open Dental icon located on your task bar at the bottom of your screen. This will then bring the Item info window back in front of your document.

This is the current work around until Open Dental correct this bug in their software. We do not have an ETA on when Open Dental will get this issue resolved.
|
Rate this Topic:
|
|||
|